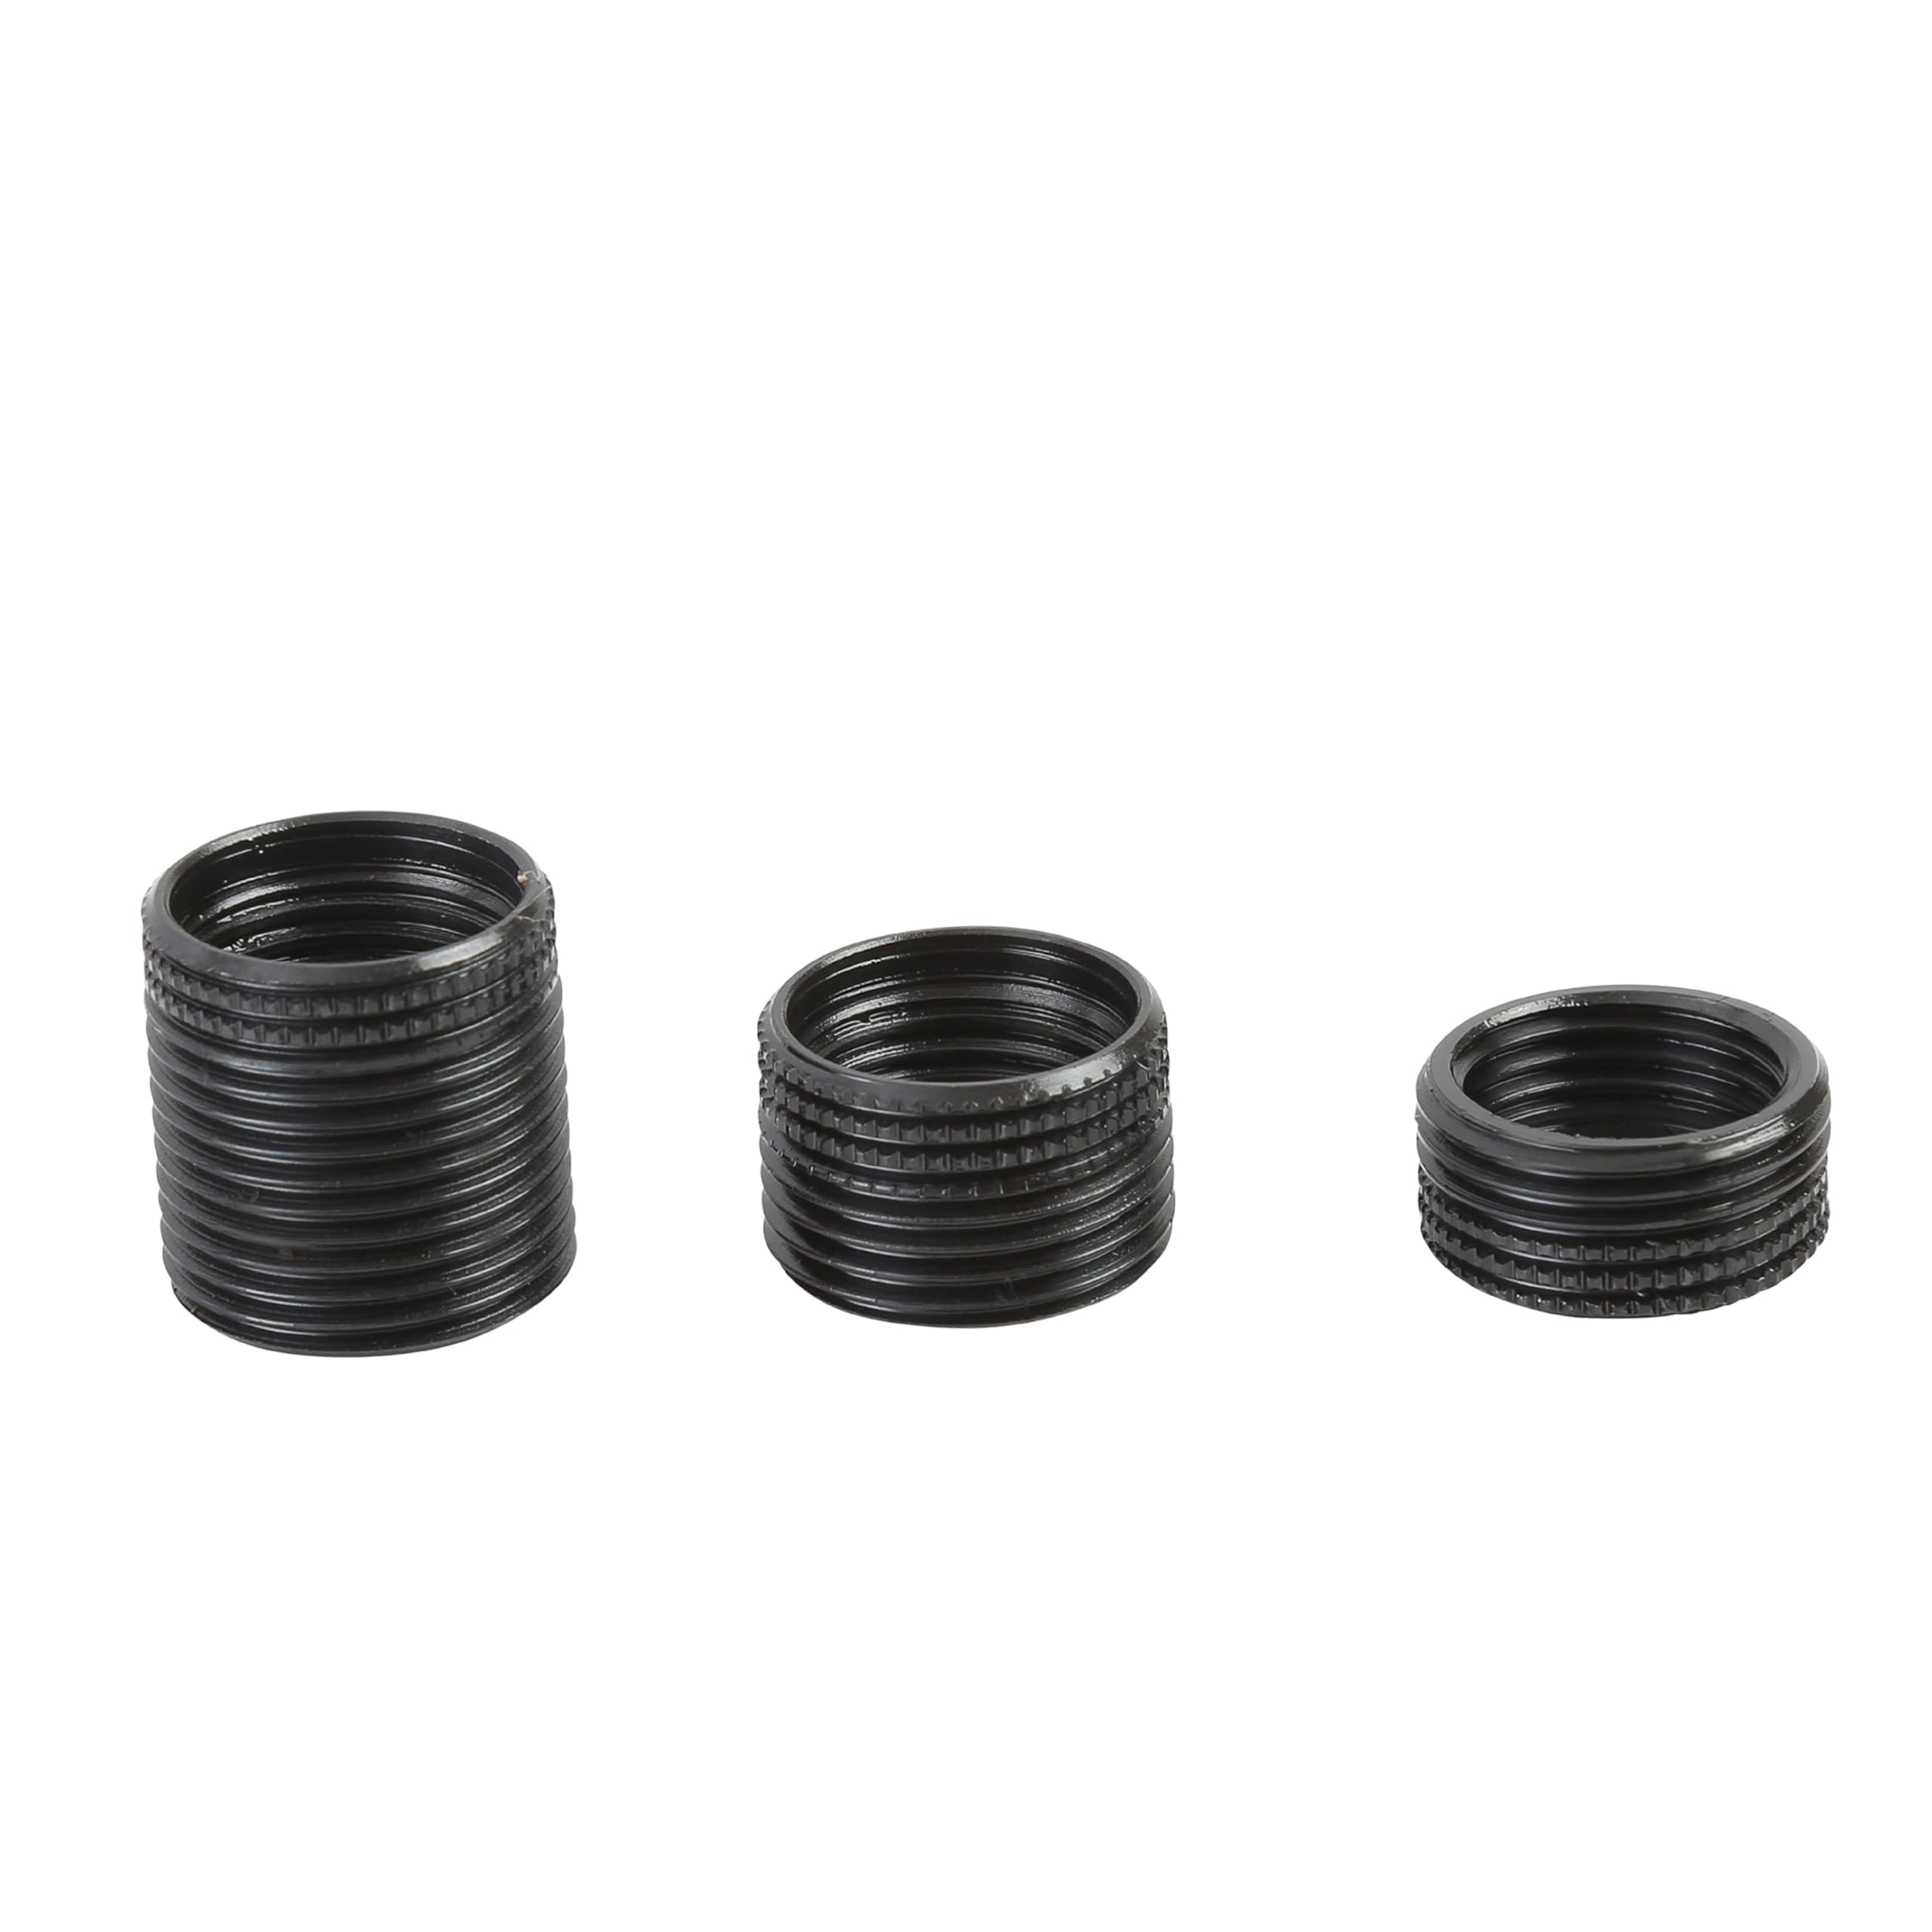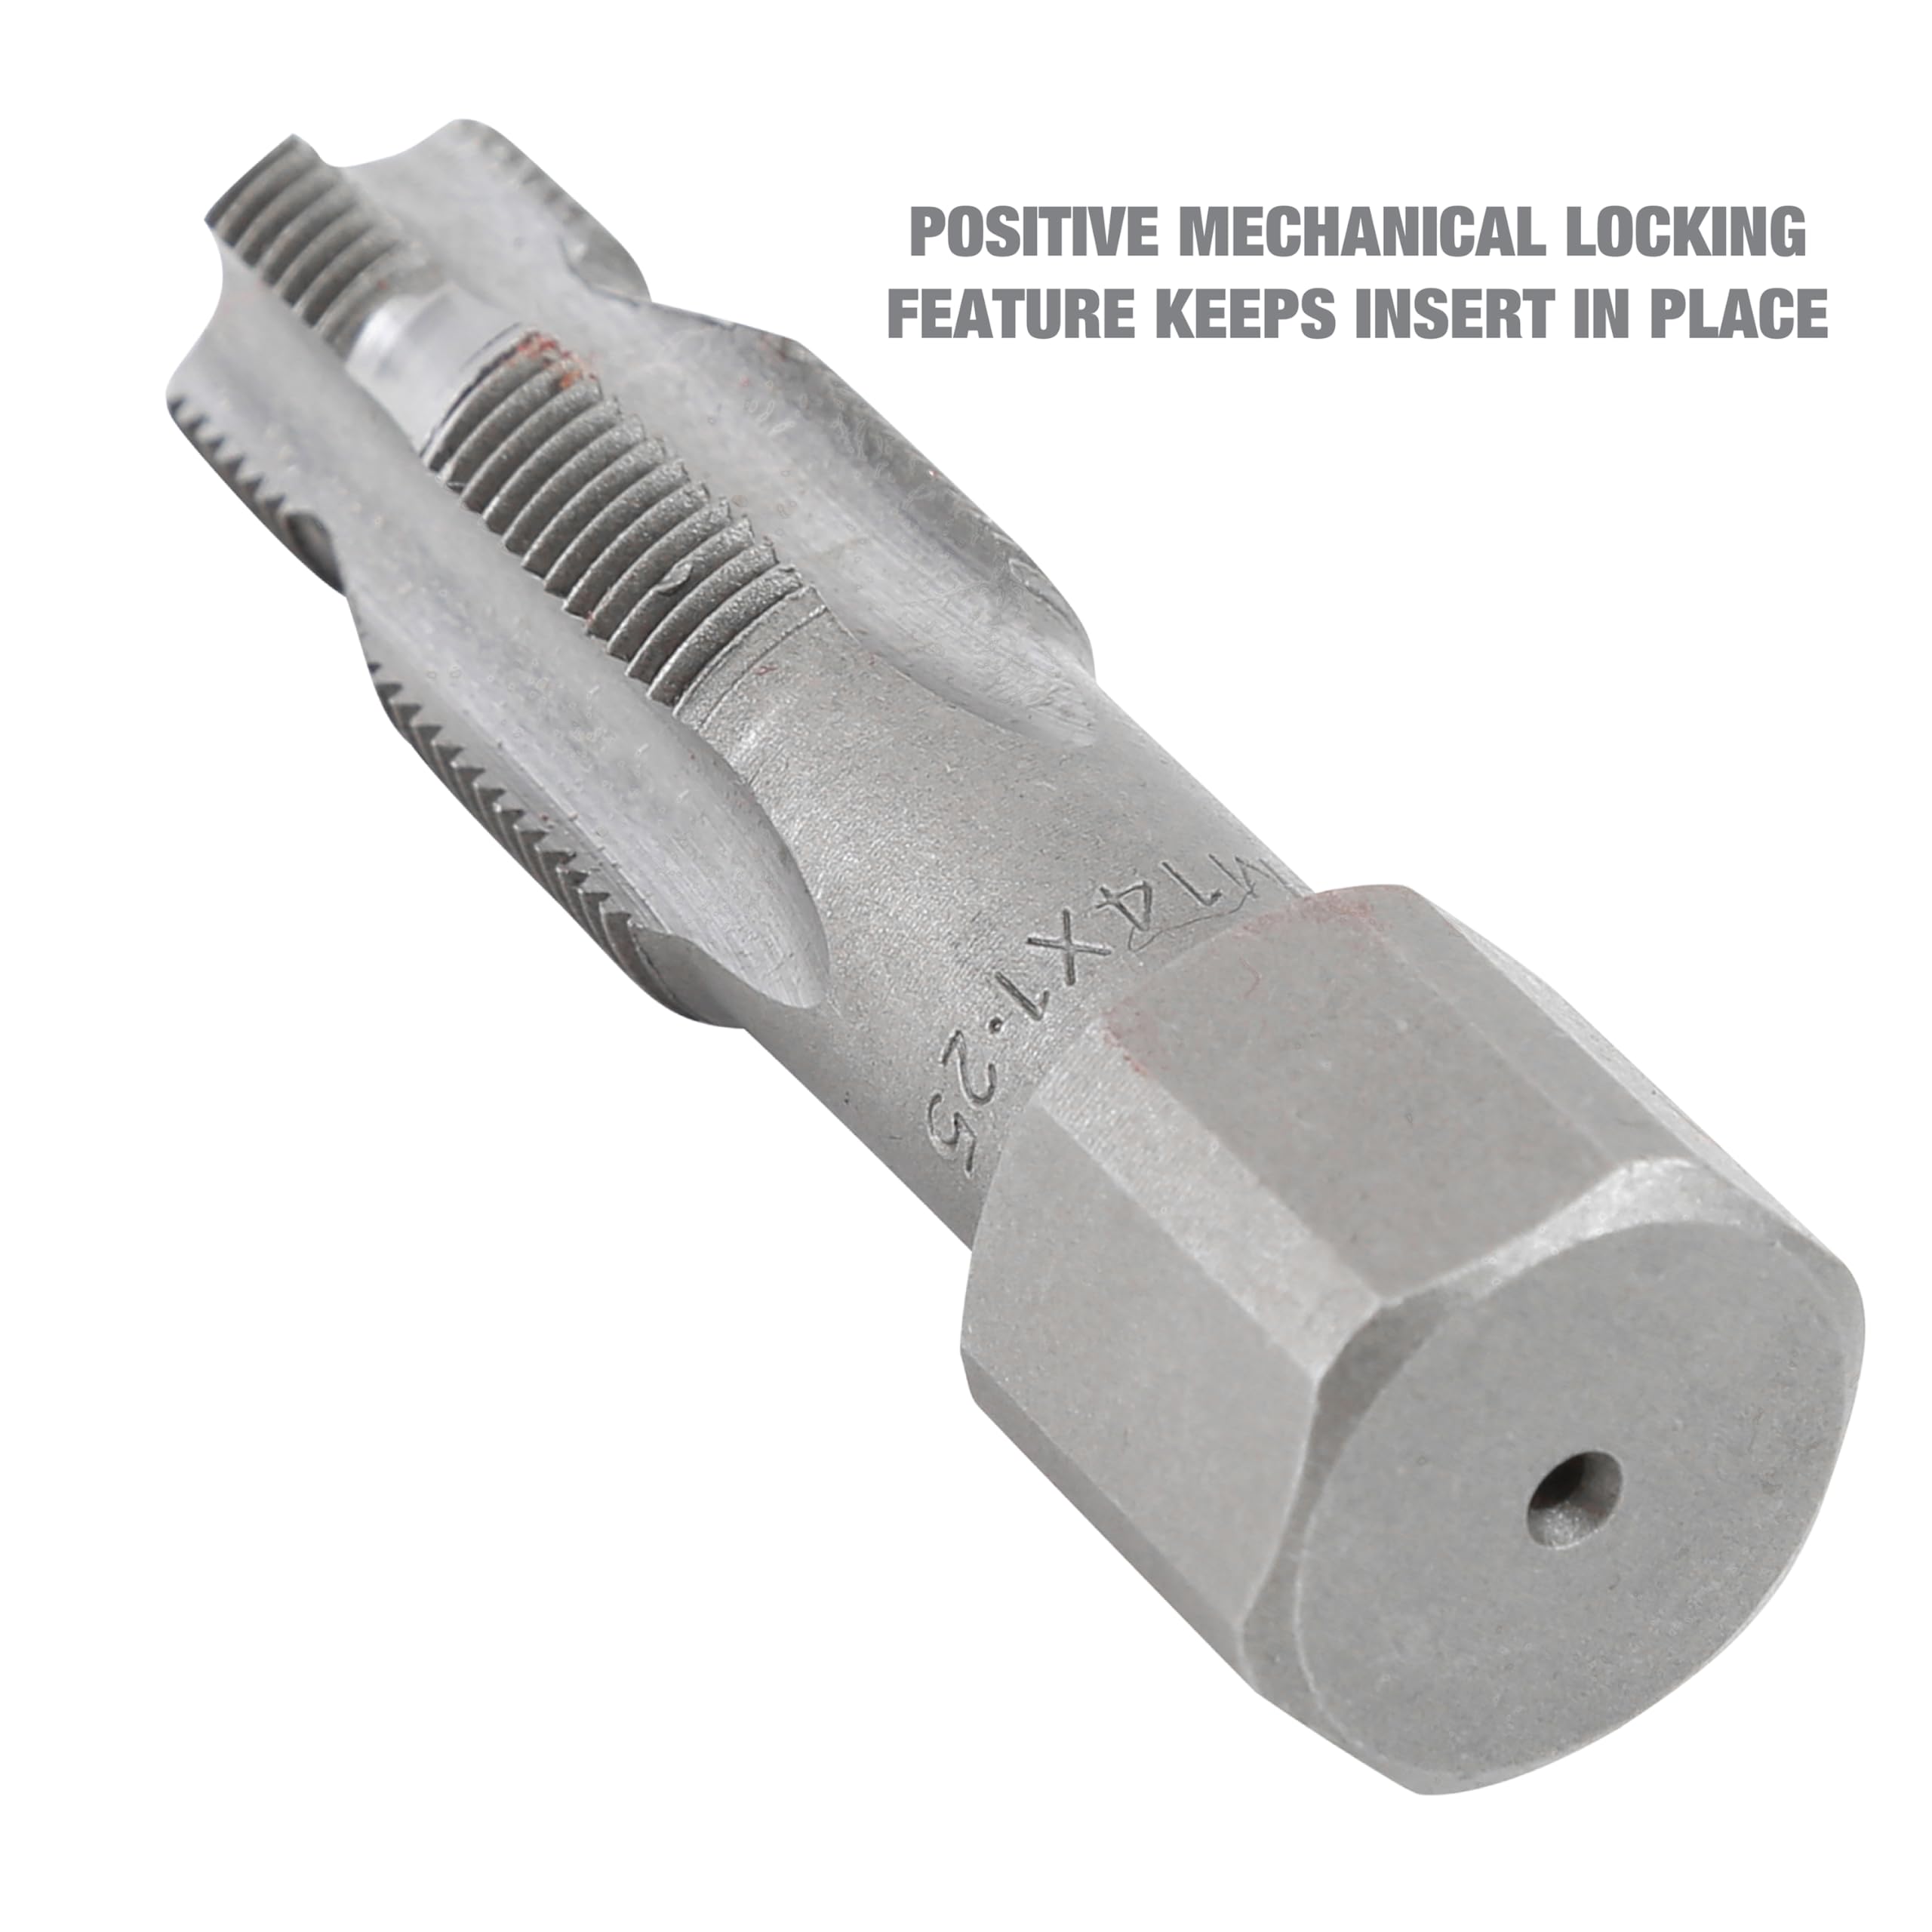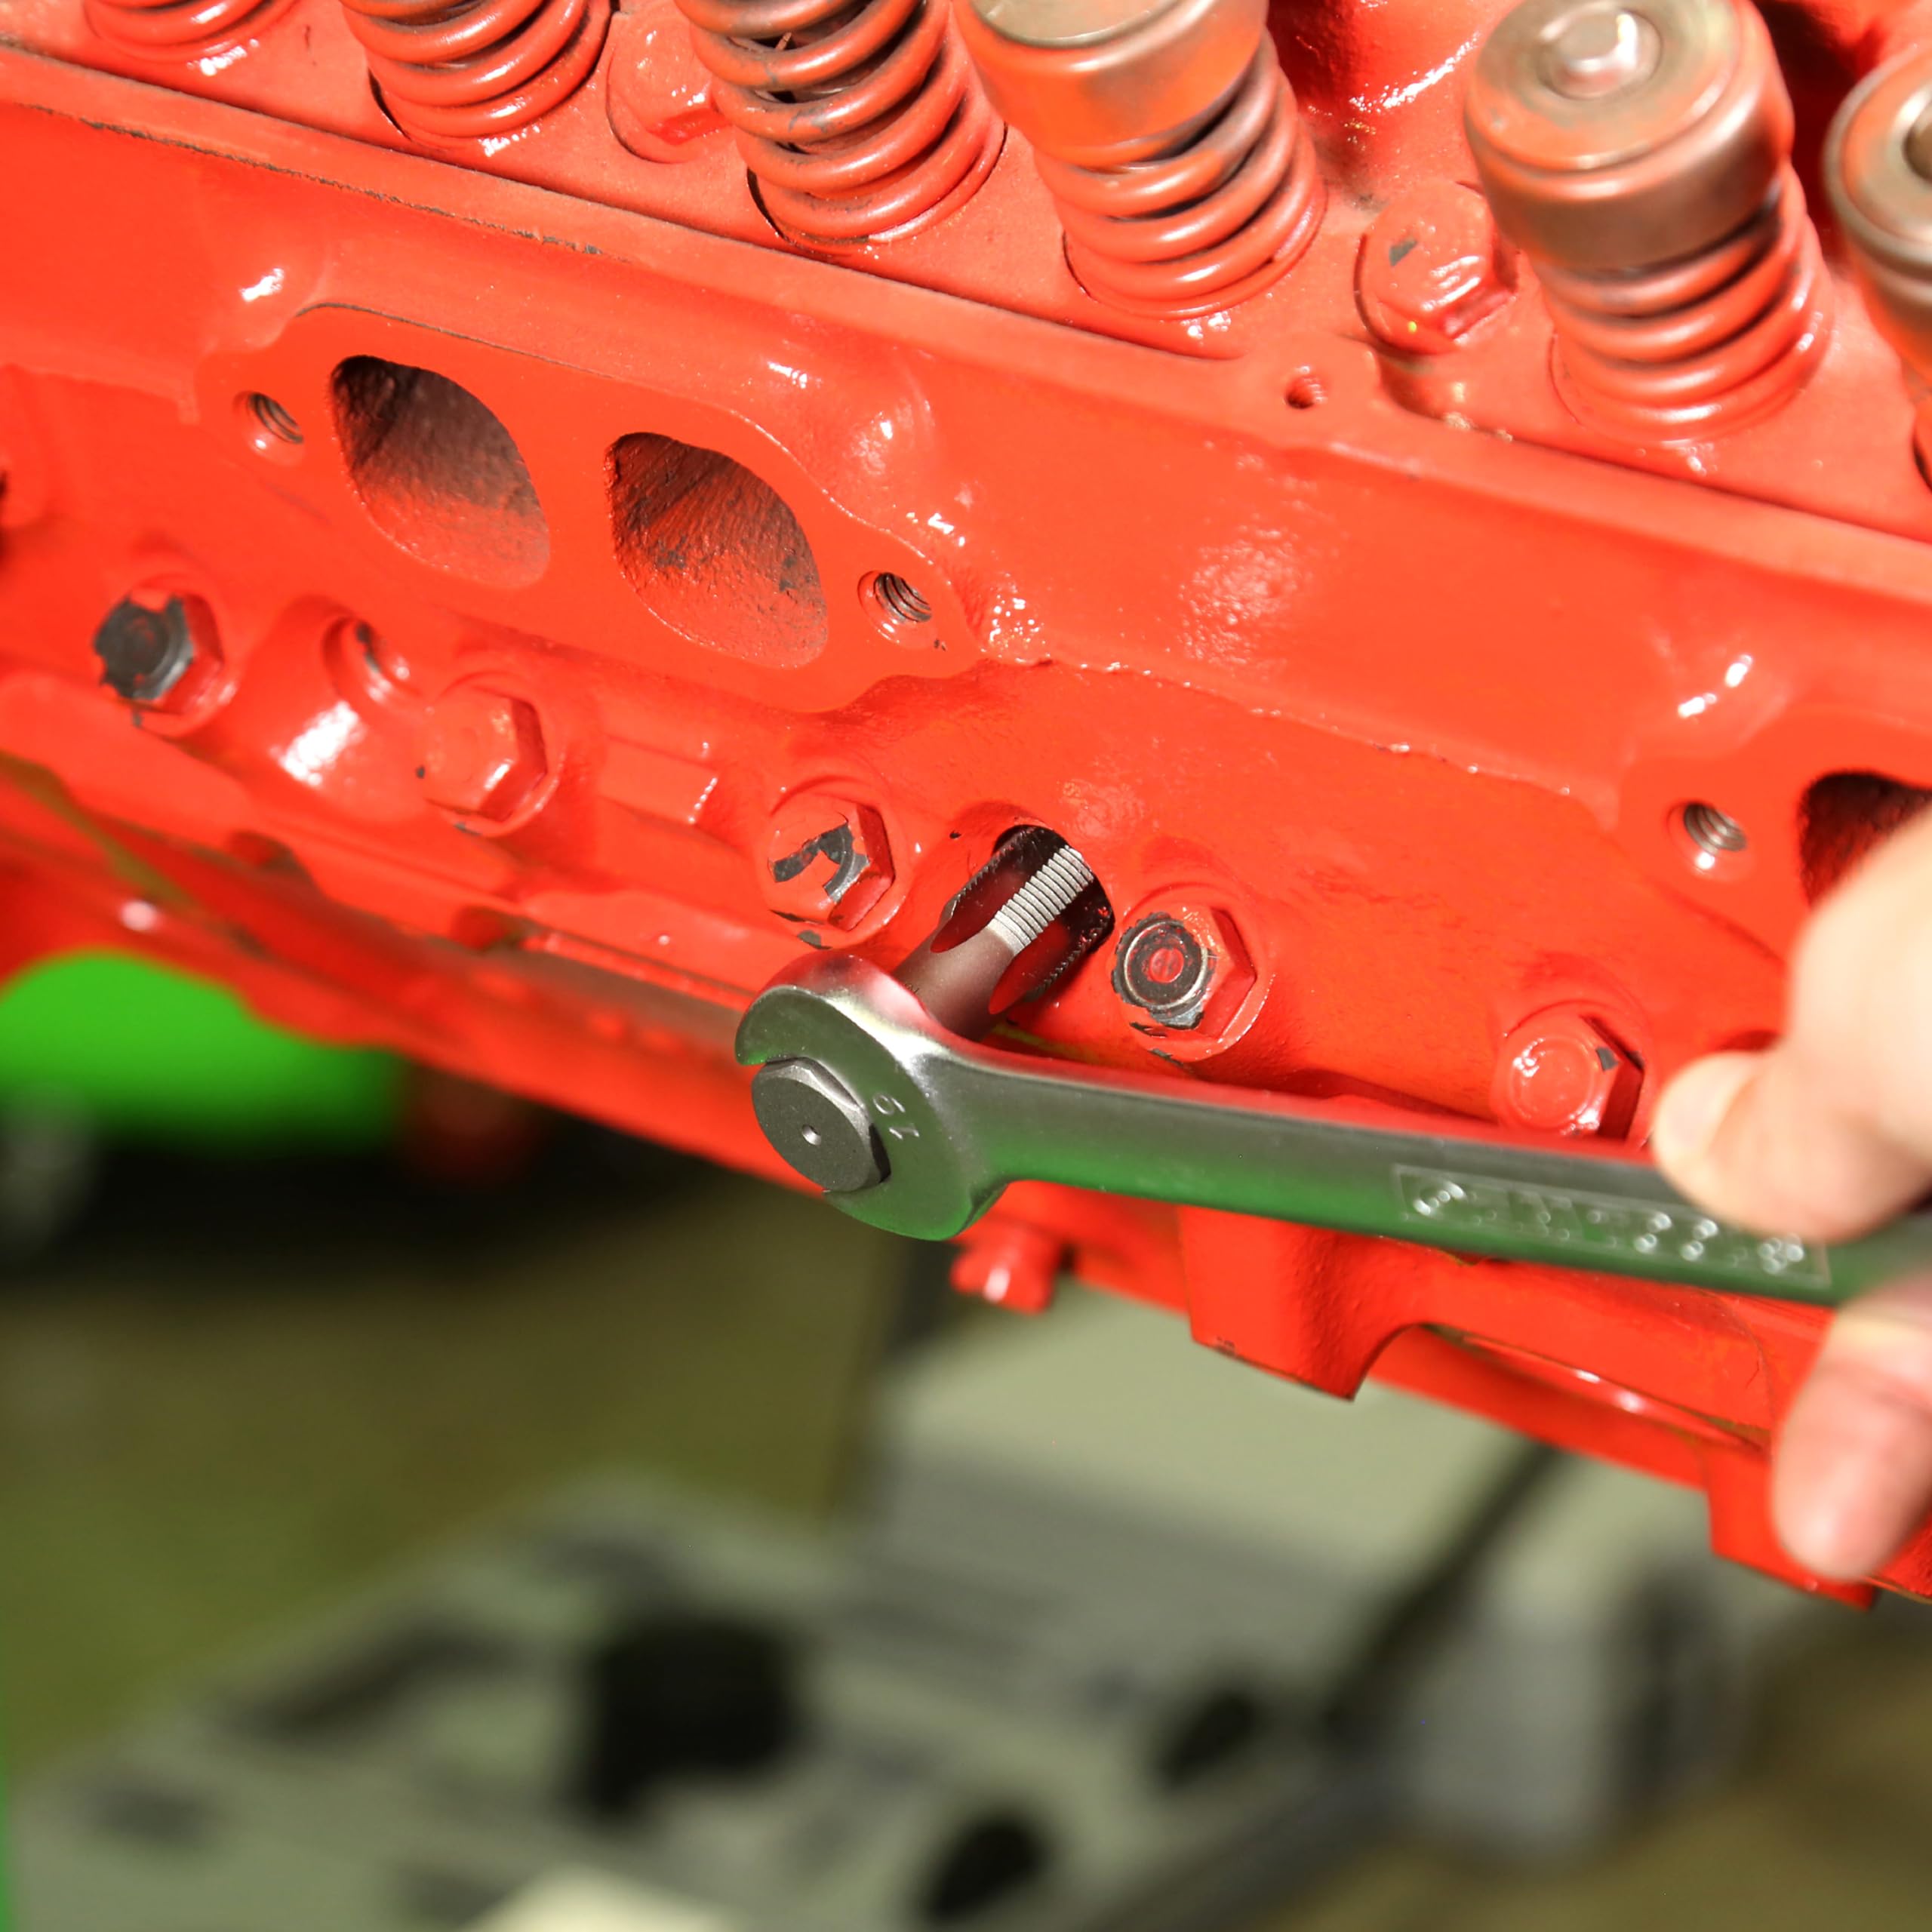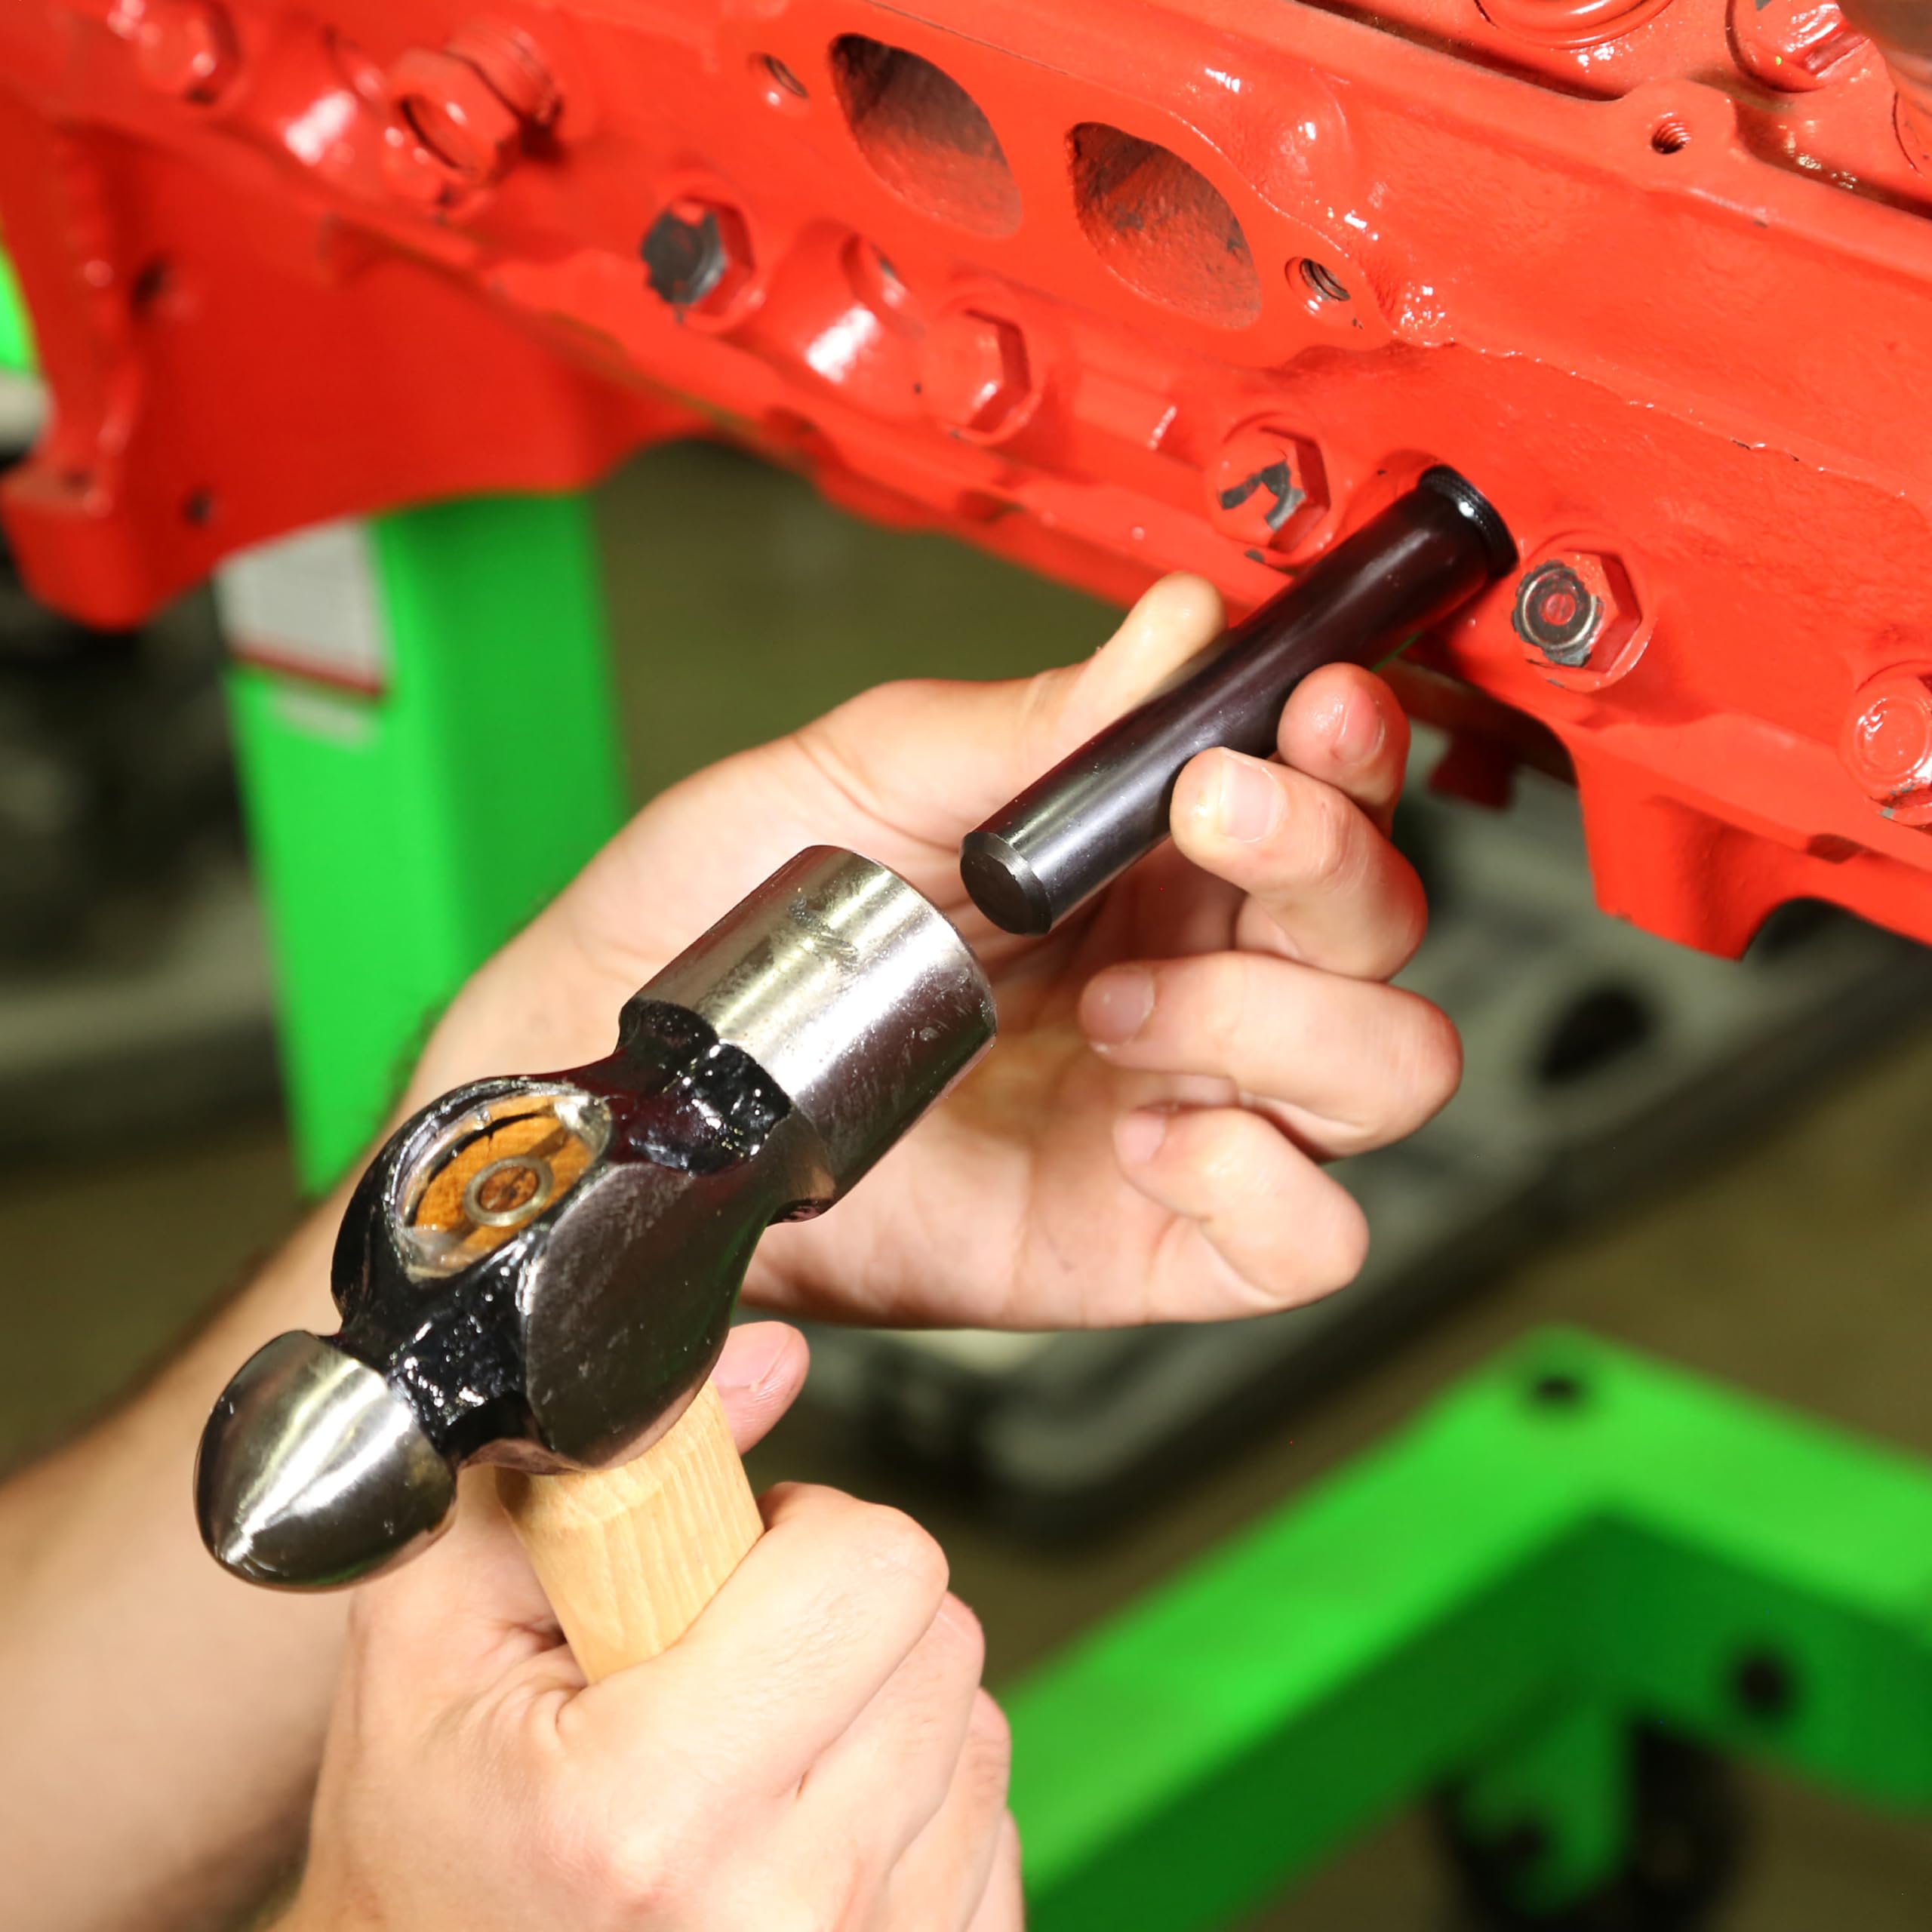


OEMTOOLS25647 5-Piece Spark Plug Saver, M14-1.25 Thread Reamer and Thread Inserts, Includes 3 Thread Inserts, 1 Reamer, & 1 Swaging Tool
Details
- BrandOEMTOOLS
- Core MaterialAluminum
- Thread SizeMetric M14 -
- Top Material TypeMetal
- Vehicle Service TypeUniversal Fit
Description
🔩 Save your spark plugs, save your ride—DIY like a pro!
- COMPLETE DIY KIT - Includes 3 inserts, reamer, and swaging tool with clear instructions
- COMPACT LIGHTWEIGHT - Portable 8.4x3.3x1 inch kit perfect for on-the-go repairs
- PRECISION PILOTED REAMER - No drilling needed—achieve flawless thread alignment every time
- PERMANENT MECHANICAL LOCKING - Thread inserts lock in place to prevent future loosening
- UNIVERSAL SPARK PLUG THREAD REPAIR - Fix both taper and gasket seat spark plugs with ease
The OEMTOOLS 25647 5-Piece Spark Plug Saver Kit offers a universal M14-1.25 thread repair solution with three precision inserts, a piloted reamer for perfect alignment, and a swaging tool. Designed for both taper and gasket seat spark plugs, this compact kit ensures permanent thread repairs with easy-to-follow instructions, making it an essential tool for professional-grade DIY automotive maintenance.
Specifications
| Brand | OEMTOOLS |
| Core Material | Aluminum |
| Thread Size | Metric M14 - 1.25 |
| Top Material Type | Metal |
| Vehicle Service Type | Universal Fit |
| Global Trade Identification Number | 00076812256478 |
| Automotive Fit Type | Universal Fit |
| UPC | 076812256478 |
| Manufacturer | OEMTOOLS |
| Model | OEMTOOLS 25647 |
| Item Weight | 0.64 ounces |
| Product Dimensions | 8.4 x 3.3 x 1 inches |
| Country of Origin | Australia |
| Item model number | 25647 |
| Is Discontinued By Manufacturer | No |
| Exterior | Machined |
| Manufacturer Part Number | 25647 |
Reviews
C**H
Worked great
I used this to repair the plug threads on a MS 291 Stihl chainsaw that was damaged by the previous owner. The plug thread's were crossthreaded and stripped out. I didn't pay close enough attention to alignment. The tool worked great, I easily cut the new threads and was able to install insert. The alignment would have been fairly easy to adjust but the saw had the first part of the threads at just enough of an angle that i didn't notice untill I went to install the sparkplug, and the socket barely fit between the plug and the cooling fins. After the required cure time for gasket sealer I fired up the saw and ot worked great. I highly recommend just pay attention to the angle.
M**E
Solved a major problem
The spark plug hole the farthest back on a Honda Pilot pulled the threads out of the head when removing a spark plug. I thought the problem was going to be catastrophic but this solved it with relative ease. Within a half hour the insert was installed and solved the problem. I was completely amazed how well this kit works for the price.
K**W
Not for the inexperienced or faint of hearts...
PROS:1. It got the job done.2. It was a cheap kit.3. The threaded inserts are coated steel.4. The tap is high enough quality to cut easily, even when some full-thread removal is needed at the bottom of the hole.5. The head on the tap is 5/8", just like the spark plug (important for deep ports)CONS:1. The pictured item has a long lead-in, more like a plug tap. What I received has very little lead-in, more like a bottoming tap. This makes it more difficult to get the tap started and, more importantly, to keep it steady and straight as the threads get started.2. There aren't very good instructions out there for the best use of this type of tool. I've tried to help with that below.Here's some detailed instructions from an experienced engineer, to help ensure a successful repair:Things you will benefit from also having/buying:1. Micro-attachment kit for your shop vac (basically a reducer, a rubber hose, and a variety of small tips)2. Loctite 638 (you could use high-temp rtv sealant, but this stuff is the ultimate best option)3. Axle grease or a similar heavy grease (this is for catching the chips so they don't go into the engine)4. A sliding T-handle wrench, or a large tap wrench (it's best to do the tapping with two opposed hands for better control and straightness, especially when starting the threads)5. This may not be needed in your case, but I couldn't get the tap started in my engine without first chamfering the hole a tiny bit more. For this I used my Noga NG3100 countersinking tool.6. A 5/8" spark plug socket (this is ideal for your spark plugs, too, in case you didn't already know... it has a rubber insert that snugs over the top of the plug so it doesn't just slip out of the socket).7. A way to retain the tap in the socket is recommended... this could be as simple as a wad of masking tap, some silly puddy, or even some small magnets like I used (I luckily just had the perfect little magnets on-hand for this).8. A long screwdriver and a thin rag for cleaning (Ideally use something that won't shred apart against the threads, like a torn up t-shirt or something... I used a polyester cleanroom wipe that I had on-hand).9. A good flashlight or head lamp.10. Anti-seize compound for the new spark plug (duh?).Instructions:IMPORTANT NOTE: this tap is only good for aluminum heads. Just be sure you aren't trying to tap into a steel block with this tool. It will likely gall up and cause an even bigger problem.ANOTHER NOTE: Plan on the repair taking about 1-2 hours, and then 24 hours for the sealer to cure. Don't skip this cure time. Plan ahead and don't start the engine until 24 hours after completing the repair.1. Inspect and clean the hole and surrounding area. There will likely be aluminum-thread debris here and there.IMPORTANT NOTE: The old threads need to be completely stripped and cleaned away at the top of the hole for this blunt-nose tap to be able to get started. It's okay if there are still a few threads completely intact at the bottom of the hole, because the front of the tap has a good enough edge grind to function as a crude reamer and clear out that extra material. If that is the case, however, be sure to take very small bites when you get down to that section (tap 1/8-1/4 turn, reverse 1/2 turn to break chip, repeat, repeat).2. Get your t-handle, extension (if needed), socket, and tap set up and apply a small blob of axle grease to the tip of the tap, as well as a tiny blob of grease in the front of each relief channel ground into the tap. This grease will grab most of the chips as the tap does it's work, keeping them out of the combustion chamber.3. Try to get the tap started in the hole, it may take quite a bit of pressure and patience. If necessary, chamfering the hole a bit more may help as it did in my case.NOTE: Once the tap starts to bite in, be very mindful of your straightness with the hole and/or spark plug port. It is critical that the threads get started as straight and true as possible.4. As the tap straightens up in the hole due to the first threads being established, work slowly and pay attention to the force required to turn the tap. If it's an aluminum head and your threads are starting nice and straight, it should never be extreme.5. Only cut 1-1/2 to 2 threads at a time before carefully backing the tap out and cleaning off the grease and chips. Each time you do this, use the vacuum kit to also clean the chips from the hole.6. Repeat step 5 until new threads are cut all the way through. As mentioned previously, if there are full threads at the bottom of the hole, take smaller bites and 'break the chip' more often. Also remove the tap for cleaning more often as you will be producing much more chip volume per thread.7. Use the vacuum kit to reach down into the combustion chamber and vacuum out any metal chips that fell down in there. It's important to get as much of that out as possible to prevent damage to the engine's internal components.8. Use the screwdriver and rag to clean out the grease and metal fines from the new threads and spark plug port as best as possible.9. Apply anti-seize compound to a new spark plug.10. Select the steel thread insert from the kit that most-closely matches the thickness of the threaded section in the head and screw it all the way onto the new sparkplug.11. Apply a very thin coat of the loctite retaining compound on the outer threads of the steel insert.IMPORTANT NOTE: You need to be careful here. One small drop is more than enough, and the excess should be removed with a wipe or q-tip. You don't want any of this to end up between the insert and the spark plug, and you don't want any of it to drip down into the combustion chamber.12. Load the spark plug with insert into your 5/8" spark plug socket and extension (if needed).13. Start the plug with insert into the new, clean threads by hand and make sure it starts straight and does not require excessive force to install. Seat it by hand if possible.14. Using a torque wrench set to the manufacturer's recommended spark plug torque, fully seat and torque the plug with insert.15. Grab a beer, pat yourself on the back, and enjoy life for 24 hours, minimum.16. Get everything cleaned up, put back together, connected, etc. and start the engine! You're done!Hope this helps some brave soul or two...
B**N
Toyota 4.7 V8
I bought a used Tundra and shortly after the spark plug backed out. This kit worked great. I was able to repair the stripped hole and its been fine ever since.
L**A
Works
I don’t know what this is for but my husband kept it. So I guess it works!
T**G
Quick, quality and strong repair tool when used with care
Snowblower reported as no power. On inspection, one issue was the spark plug threads were all stripped but one that had a weak grip on the plug. Using this tool with a 9/16ths quality drill and Loctite Threadlocker Red, I was able to have the oversized hole drilled out (go slow and steady), insert with Red on applied and the new plug in place within 30 minutes. Leaving Red to cure for 24 hours per instructions, the snowblower is back to full working order and the plug tight. It also got a carb replacement as the secondary no-power issue. Important items to consider, put grease on drill bit to catch swarth, drilling out the original plug hole requires some skill to stop the drill bit jumping about, go slow and hold the drill steadily. Put the piston to TDC with all valves closed to inhibit pulling too much swarth into bore. Use tissue or cotton wool in the cylinder with more grease to catch swarth. Grease the tap. If you do not have a tap handle of the size to fit tap nut, use the heaviest ratchet wrench and go steady with weight applied to get it started straight. Vacuum cylinder and inspect afterwards to remove final metal filings, you do not want them in bore or intake to scratch the cylinder walls. Use Threadlocker Red (strongest) to hold the insert in place but give it the 24 hours cure time before trying to start the motor. Use the spark plug to screw in the insert and get it in tight, but not so tight that you cause the original issue again.
Common Questions
Trustpilot
1 month ago
1 month ago


